How to choose the right scope:
When I first decided I wanted to buy a telescope I had the fun of goggling “how to choose the right telescope.” The sad fact is there is a lot of information out there on this topic, a bit too much. So to help you in the same manor it helps me, I want to explain some things that helps you ask the right questions. I found that I had a bunch of information but no practical knowledge of the matter in which to apply it.
First of what application do you want to use it for? Are you going to take it out as much as possible or just once in a while? These two questions go hand in hand. The second one, “how often are you going to take it out?” it’s one of those questions one says yeah I’m going to take it out all the time, then either lose interest from not being able to see anything like they expect in the photos, or set up is a hassle.
What are you going to use it for is the primary question. of course I had no idea I would get into taking photos of space objects, but in my case it works just fine for it. This goes beyond just, I want to look at things in space or I want to take pictures. Is it something you want to observe the sun? Just want to look at the moon once in a while? Chase a comet when one comes by? See Deep Space Objects (DSO) see distant galaxies or cloudy nebula? The best bit of advice I can give is two fold, 1 don’t cut corners, and 2 Each piece of equipment is specifically designed for a purpose. You can imagine this hobby can get rather expensive rather fast.
Lets not let this deter you. Most people like myself had no idea we would be where we are now with this hobby. It’s like chasing the white rabbit down the rabbit hole. But be honest with yourself and you can get things as you need them, the hobby is modular.
Once you have figured out what you are wanting to look at has been picked you have to figure out what kind of telescope to get. Again the type of telescope to get is determined more by what you intend on looking at. Does this mean you can’t look at anything else with it? no. . not at all.
The next part is the size of telescope. First thing people like to say is how big the telescope is or how strong the magnification is. Let me tell you there is a ton of math out there in this hobby that can make the hobby really dull really fast. . . unless you like math. However Magnification can be calculated by dividing the focal length of your telescope by the focal length of the eyepiece.
My Celestron 6se has a focal length of 1500mm. so depending on what eyepiece I have I generally use a 25 mm as I spot a target and then take that out and attach a camera. so M = magnification, F = focal length and E = Eyepiece
M= F/E
M= 1500/25
M=60
So with my eyepiece I know I have magnified the image of the moon 60 times.
now the highest useful magnification according to the manufacturer is 354X
so 354 = 1500/E
so the smallest eyepiece I could use is a 4.2ish or a 5 as a 4 would be too strong.
Now, what does this mean?I want to magnify the image as much as possible don’t I? That’s what I thought when buying the 6SE. Fortunately this is not the case at all, and I got lucky that the 6SE was and is a good scope! The aperture of the scope is what is the bucket that captures the light. The wider the aperture, the bigger the bucket to hold water. . . . the more light you can capture, the fainter the object you can see. When you start magnifying the object you lose light but gain magnification. Yes I can use a 6 MM eyepiece, but the object I’m looking at is very dim and hazy. I honestly see more in a 25 mm than a 6mm (he higher the number the lower the magnification. . .)
The next thing you need to look at stat wise is the F ratio of the scope. The 6se and all the Schmidt-Cassegrain I have seen are f/10. To spare you the details, this is a long dull topic and I’m not here to mash you with any dull details, the thing is this, the lower the f ratio the less time it takes to gather light to take a picture. Can you take photos with a large f/10? yes, I just have to leave the shutter open for longer periods. All this ratio means is how fast is the optics?
What does it all mean? The lower the number the faster. Low F ratios, give you wider fields of view, brighter images, but lower power. You need to use a low F ratio to get wider angle views.
Higher F ratios means you obviously get smaller field of views (narrower images) higher power, just opposite of the faster or lower f ratios.
even more confused? This is from Celestron’s help article:
“Smaller f-numbers will give brighter photographic images and the option to use shorter exposures. An f/4 system requires only ¼ the exposure time of an f/8 system. Thus, small focal ratio lenses or scopes are called “fast” and larger f/numbers are called “slow.” Fast focal ratios of telescopes are f/3.5 to f/6, medium are f/7 to f/11, and slow are f/12 and longer.
Whether a telescope is used visually or photographically, the brightness of stars (point sources) is a function only of telescope aperture–the larger the aperture, the brighter the images. Extended objects will always appear brighter at lower magnifications. The main advantage of having a fast focal ratio with a visual telescope is that it will deliver a wider field of view than slower f-numbers.”
Now, you can buy different lenses to help with certain things you need to over come. I bought a focal reducer so I could lower my F ratio. This gives me wider fields of view. . .makes getting shots of the moon for example a little easier or to fit the entire star clusters in. . .some like the double star cluster are rather wide or the dragon fly cluster.
Mounts :
Computerized mounts are the way to go. Don’t even waste your time with anything less. Yes you can swivel them around and aim at things you want to see by finding them on star charts. . . Are you sure that’s what you are looking at? do you want to spend time trying to keep the object in the field of view? the objects are moving and so is the earth. . .
Now depending on how you want to do this is how you choose the kind of mount. . . but wait. . .why not just buy a tube and a mount then put it all together? Yes you can do that, but if you are going to do that you wouldn’t be reading this now would you? After I get done with this you will understand it enough to figure what kind of mount to buy so you can do that with. .

this is a simple easy to use mount. it turns the scope around, up and down as well. these programmables ones require a power source I have this very scope and mount, it’s been pretty good, except when I put it on a home made wedge, the bottom bolts were too long and I messed up some gearing. It does track pretty decent now, but to do long term exposure I need a wedge in order to get it t work.
What’s this wedge I speak of? It is a way to make the mount the alt-az mount track properly for polar alignment. more on that in a minute
Now what’s the other option?

This. it’s called an EQ Mount, or an equatorial mount. It’s sole purpose is to be polar aligned so it takes rotation out of the image. If you intend on doing long term photography which is longer exposures than 30 seconds then you need this. otherwise the rotation of the earth will twist your images.
But you mentioned a wedge? Yes, a wedge can be used for the alt az this wedge tilts the alt-az mount to align the top of the scope to the axis that we spin on. this means the earth rotates the same way the mount will pivot on the same axis. The EQ mount just has an axis point that does this for you.


as you can see this is very important if you are going to take photos. when doing planetary and other photos I never go with out it. Of course you can see the more complicated this gets the more steps in how to align it.
Regardless of what mount you buy, look into the weight limit of the mount. cameras, finder scopes and what not add up weight fast! Personally I am in the phase of buying the scope and mount together. I know it fits, the software is right and current. . . and I haven’t been let down once yet!
Telescope Models:
now that you know what kind of mount and what the numbers mean, what kind of scope do you choose?
Refractors (a) – Simple. long tube. Cheep, simple construction and little maintenance
Disadvantage : Strength and light gathering is dependent on size and length, not good for viewing faint objects, chromatic aberration
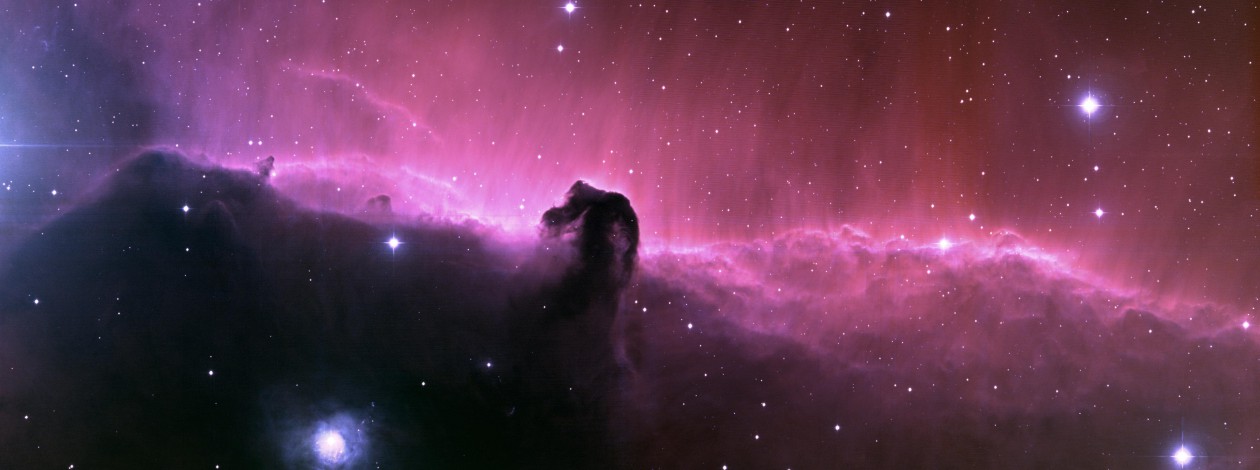
Reflector (b) – Low cost, portable, and great for faint objects like nebulae, galaxies, and star clusters
Disadvantage : Slight light loss due to secondary mirrors, mirrors sometimes face Collimation issues, Photos are slightly distorted and diffraction effects: bright objects have spikes caused by the secondary mirror location.
Catadioptrics (c) – Best all purpose Design. designed as a combination of advantages of all designs to that point. Excellent optics, Great for DSO’s and astrophotography, Closed tube design, maintenance free. . .generally. . . Compact and portable Large aperture is priced reasonably, best near focus capabilityDisadvantages : More expensive than reflectors of same aperture, Doesn’t look like a telescope (expectations) slight light loss due to the secondary mirror.

Solar Telescopes
Solar telescopes are designed to look at the sun with. DO not take your telescope to look at the sun unless you read the warnings and know how to look at the sun safely. Read my page on safe solar viewing and read the warning. However these are designed to give you a great shot at the sun.
You can use solar film and filters, again I will elaborate on this as we go, but for here a solar telescope was designed to look and observe the sun. You will get your best images by buying a solar telescope.
Down side is they aren’t good for much else. I told you that every piece of equipment has a purpose. This is one of those pieces. I highly recommend solar telescopes over the film or filters. by all means use a film or filter manufactured for this purpose, DO NOT TAKE SHORTCUTS or you will burn your eyeballs out of your head. . .. Seeing the sun was something I thought “meh no big deal let me take a look maybe I’ll look when something cool happens.” . .I view the sun much more often as there is never the same view twice and it is amazing to see the detail you can get on a star this close. . .
I could go into how the things work and all the formulas. . .but odds are you are here to learn something to help you make up your mind and might have no idea what questions to ask. I hope this advice helps!
